Taser: Difference between revisions
m image header |
m reverted image header because it was too long, uncouth, bigoted, and worst of all... it lacked any comedic value |
||
| (8 intermediate revisions by 2 users not shown) | |||
| Line 4: | Line 4: | ||
[[File:Taser.png|center|thumb|200px]] | [[File:Taser.png|center|thumb|200px]] | ||
|label2 = Damage | |label2 = Damage | ||
|data2 = | |data2 = N/A | ||
|label5 = Fire-Rate | |label5 = Fire-Rate | ||
|data5 = | |data5 = 4 (Very Slow) | ||
|label7 = Traits | |label7 = Traits | ||
|data7 = | |data7 = One-Handed, Equipment, Stun, Special | ||
}} | }} | ||
== Brief Information == | == Brief Information == | ||
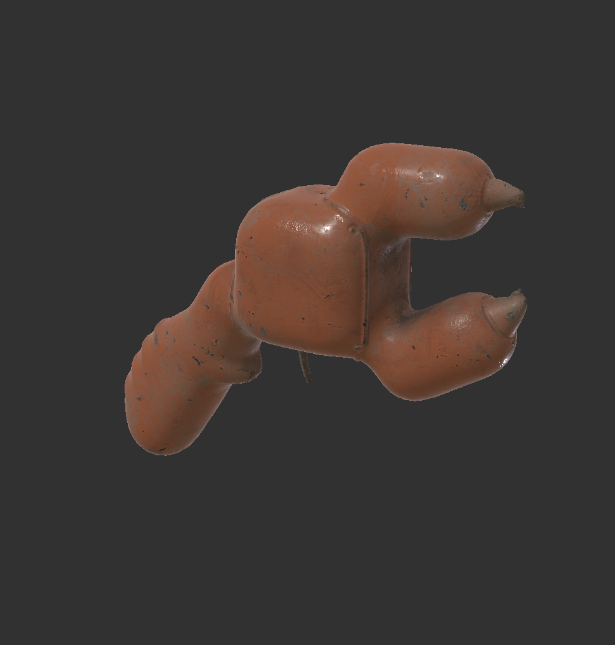
The Taser is short-range, non-lethal weapon that briefly stuns an opponent. | |||
The stun's code overlaps with the beginning of rounds (CanMove), causing hitboxes to sometimes not work. It is also why you can sometimes see the electricity particles when maps change. | |||
== Recommended Strategies == | == Recommended Strategies == | ||
Best used if paired with another weapon. | Best used if paired with another weapon, although using it to pick up a weapon that's about to be fought over is also a good idea. | ||
== Maps Available == | == Maps Available == | ||
* Adobe_00_Alt | * Adobe_00_Alt | ||
* Aquatic_00 | |||
* Arena_11_Alt | |||
* Arena_13_Alt | * Arena_13_Alt | ||
* Arena_14 | |||
* Arena_16 | |||
* Arena_16_Alt | |||
* Arena_Shadow_00 | * Arena_Shadow_00 | ||
* Arena_Shadow_01 | * Arena_Shadow_01 | ||
* Arena_Shadow_03 | * Arena_Shadow_03 | ||
* Arena_Shadow_07 | * Arena_Shadow_07 | ||
* Bazaar_00 (Pipe) | |||
* Cage_Fight_00_Night | * Cage_Fight_00_Night | ||
* Chateaux_09 | * Chateaux_09 | ||
Latest revision as of 10:03, 18 December 2025
"bzzt"
 | |
|---|---|
| Damage | N/A |
| Fire-Rate | 4 (Very Slow) |
| Traits | One-Handed, Equipment, Stun, Special |
Brief Information
The Taser is short-range, non-lethal weapon that briefly stuns an opponent.
The stun's code overlaps with the beginning of rounds (CanMove), causing hitboxes to sometimes not work. It is also why you can sometimes see the electricity particles when maps change.
Recommended Strategies
Best used if paired with another weapon, although using it to pick up a weapon that's about to be fought over is also a good idea.
Maps Available
- Adobe_00_Alt
- Aquatic_00
- Arena_11_Alt
- Arena_13_Alt
- Arena_14
- Arena_16
- Arena_16_Alt
- Arena_Shadow_00
- Arena_Shadow_01
- Arena_Shadow_03
- Arena_Shadow_07
- Bazaar_00 (Pipe)
- Cage_Fight_00_Night
- Chateaux_09
- Chateaux_10
- Chateaux_11
- Chateaux_13_Alt
- Corridor_00_alt
- Corridor_08_Alt
- Dragonfly_Crusher
- Dragonfly_Sewer_Alt
- EndGame
- HK_03_Alt
- ICE_01
- ICE_03
- ICE_05
- Neo_Arena_04_0
- Neo_Arena_04_1
- Neo_Arena_08
- Neo_Arena_09
- Prison_00
- Republic_01
- Republic_02
- Republic_03
- Republic_05
- TheSamePlace_08